
How to Make a Minecraft Video Trailer with AI Using Text and Screenshots?
You have finished a dramatic castle, opened a survival server, or planned a new Minecraft series.
Now you need a trailer that gives players a reason to look twice. Recording a polished sequence can be difficult when the build is unfinished, the right players are not online, or your computer struggles with capture and editing software.
AI video generation offers another route. You can describe the shot you want, or animate a screenshot that already contains the right world and composition.
The insMind AI video generator supports both approaches in a browser, making it useful for quick teasers, YouTube intros, Discord announcements, and server launch posts.
Choose the Right Starting Point
Start with text when the scene exists only in your head. A written prompt can establish the biome, weather, action, mood, and camera movement.
This works well for a cinematic establishing shot, such as a minecart racing toward a mountain fortress during a storm.
The text to video tool is also useful when you want to test several visual directions before building or recording anything in game.
Start with an image when accuracy matters more than invention. A clean screenshot can keep your castle, skin, village, or custom map at the center of the shot.
With the image to video tool, you can describe motion such as a slow push toward the entrance, clouds moving above a tower, or a gentle orbit around a large build.
For the clearest result, use one main idea per clip. A five-second shot of a portal activating is easier to control than a full story containing combat, exploration, dialogue, and three locations.
Generate a few short scenes, then arrange the strongest ones in your usual editor if you need a longer trailer.
How to Create a Minecraft AI Video Trailer?
Step 1: Add a Prompt or Reference Screenshot
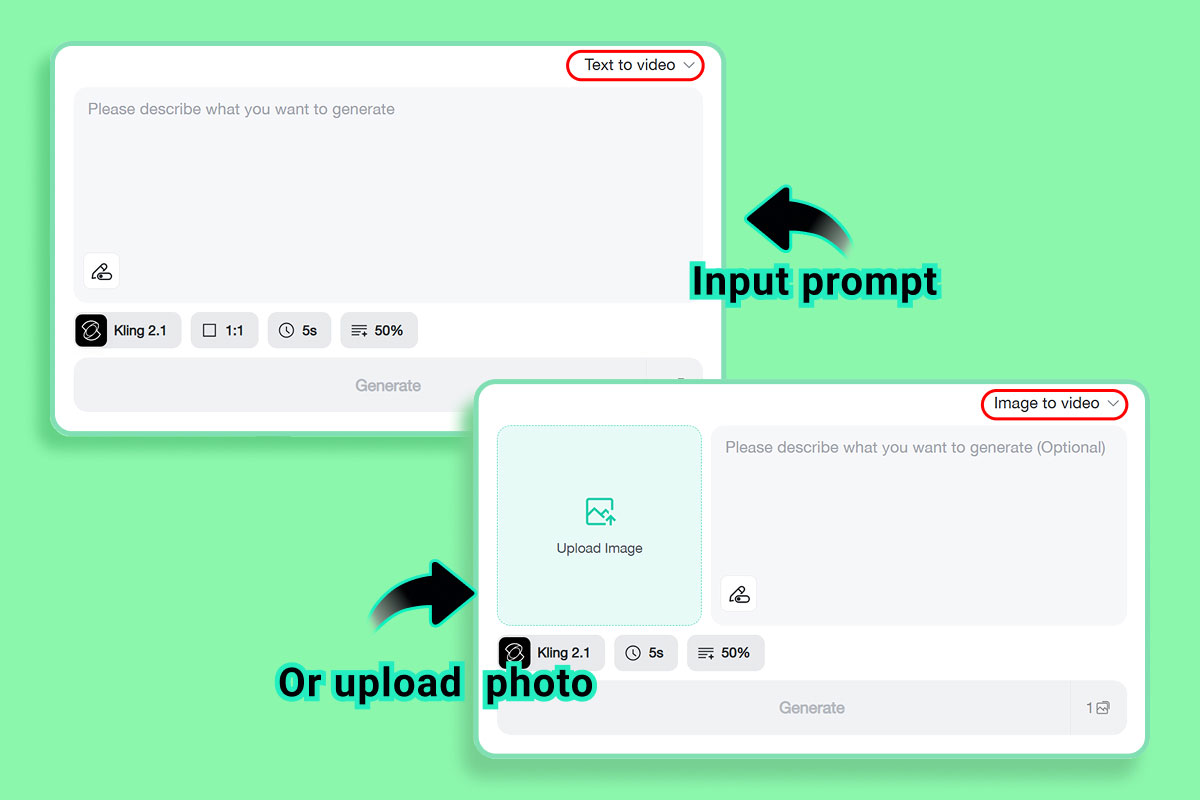
Open insMind, select Video, and enter a short description of the exact shot. To start from an image, use the plus button to add a screenshot with the HUD hidden, a clear subject, and enough space for the camera to move.
Avoid crowded inventories, chat messages, and crosshairs unless they are part of the look you want.
A useful text prompt could be: “Cinematic Minecraft style mountain fortress at sunset, torches turning on along the walls, slow aerial push forward, adventurous mood.”
For a screenshot, keep the motion instruction simpler: “Slow camera push toward the castle gate while clouds drift overhead and torchlight flickers.”
Step 2: Choose the Video Model
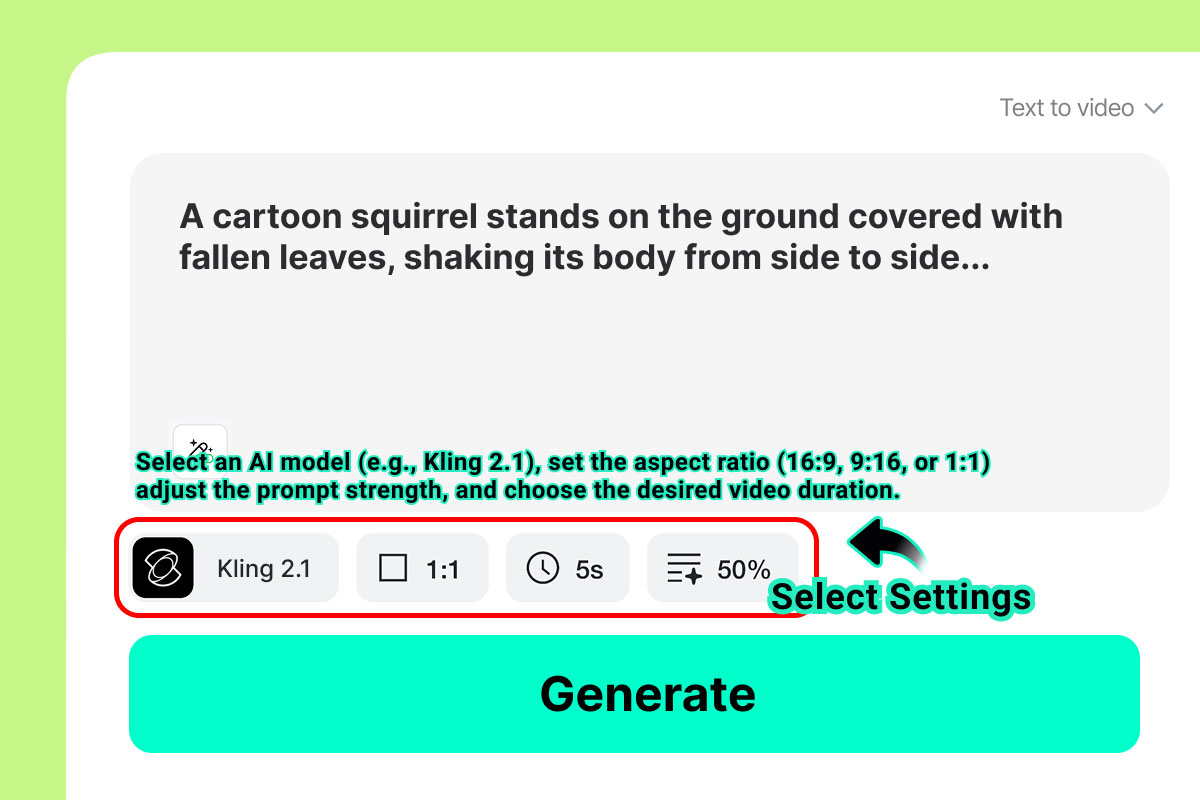
Open the model menu and choose one of the available video models. The menu identifies each option and its supported clip length.
Start with the default model if you are testing the workflow for the first time, then compare another model only when you need a different balance of speed or visual detail.
Step 3: Set the Ratio Resolution and Duration
Open the output settings and match the aspect ratio to the place where the trailer will appear.
Use 16:9 for a YouTube intro or website embed, 9:16 for Shorts and TikTok, and 1:1 for a compact social post.
Select the available resolution and keep the first test clip short. Turn audio on only when the selected model supports it and generated sound suits the project.
Before continuing, read the prompt once more. Concrete directions such as “slow orbit,” “forward tracking shot,” or “static camera with drifting fog” give the model a cleaner target than a broad word such as “epic.”
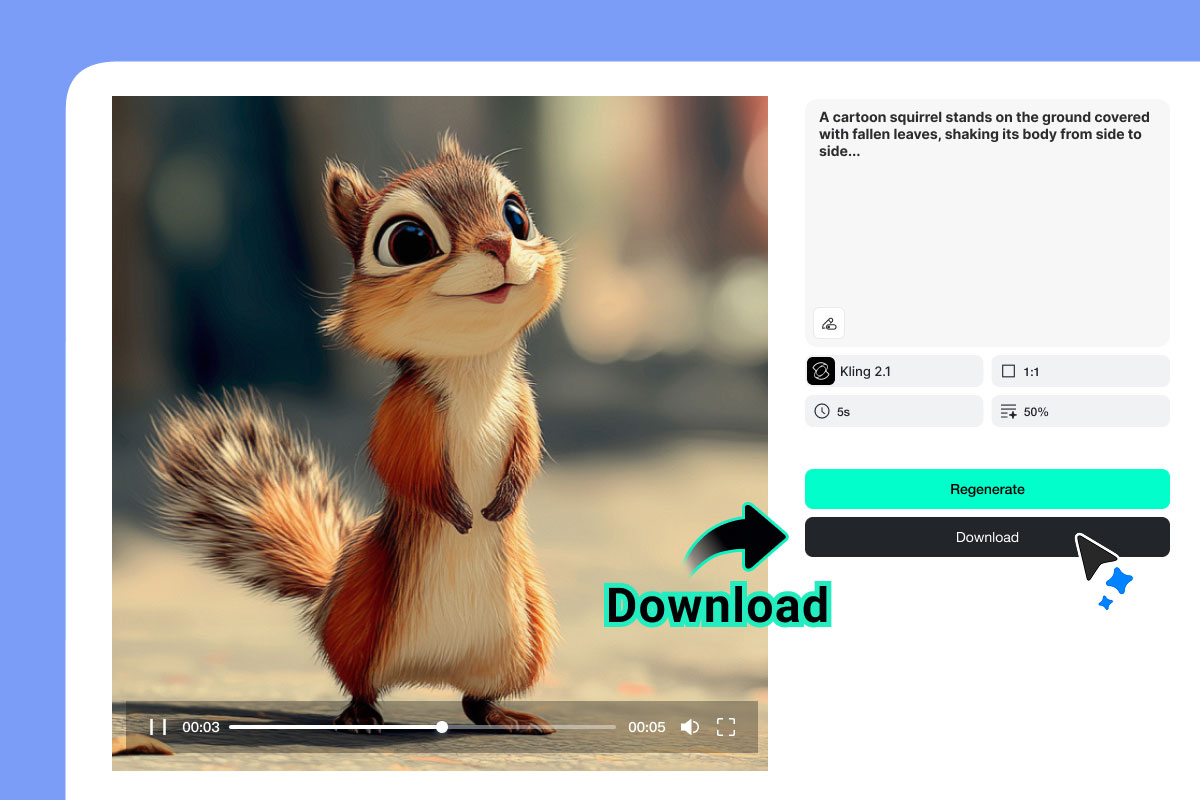
Step 4: Generate Review and Download
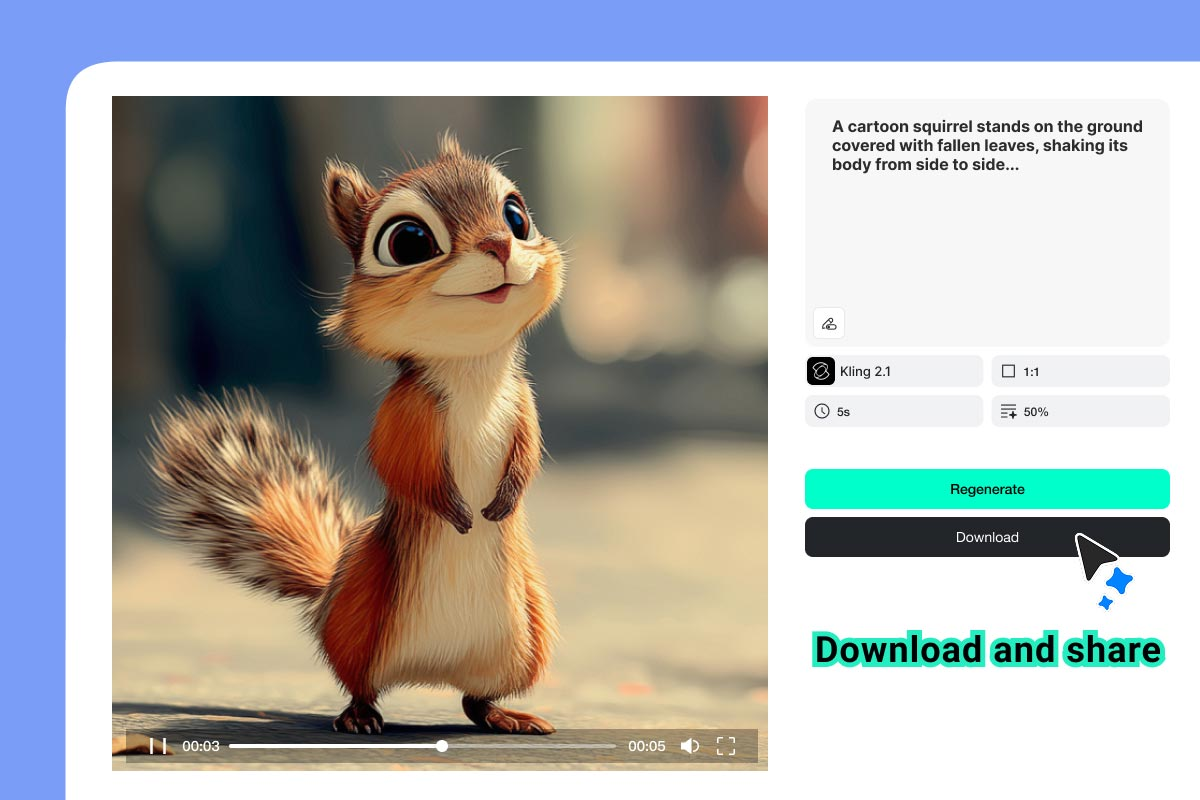
Select the arrow button to submit the generation, then review the whole clip when processing finishes. Look for stable block shapes, believable camera motion, and a clear focal point.
Small visual changes can feel natural in an AI scene, but regenerate if the main structure bends, a character changes identity, or the camera moves away from the subject.
Download the best version. Add a short title, server address, music, or sound effects in an editor only after the visual has passed review.
Keep important text away from the outer edges so mobile apps do not cover it with interface buttons.
Simple Ways to Make the Trailer Feel Like Minecraft
- Use recognizable Minecraft subjects such as a Nether portal, village, redstone door, minecart track, boss arena, or player-built landmark.
- Choose movement that suits the scene. A slow reveal fits a huge build, while a quick tracking shot fits parkour or a chase.
- Keep each clip focused on one location and one action. This reduces distracting changes between frames.
- Use real gameplay screenshots for named servers and original maps so viewers recognize what they will actually visit.
- Add logos, captions, and server details after generation for sharper text and consistent branding.
Copyright note: Use screenshots from worlds you created or have permission to feature. Avoid implying that an unofficial trailer is an official Mojang or Microsoft release.
FAQS
Can I make a trailer without recording gameplay
Yes. Text input can create an original scene, while image input can animate a still screenshot. Recorded gameplay is still useful when exact mechanics or competitive action must be shown.
Which format should I use for a Minecraft YouTube trailer?
Use 16:9 for a standard YouTube video. Choose 9:16 when the same idea is designed specifically for YouTube Shorts, TikTok, or Instagram Reels.
Should I create the whole trailer in one generation?
Short scenes are easier to direct and review. Create separate establishing, action, and closing shots, then combine only the clips that remain visually consistent.
Turn One Minecraft Idea into a Trailer
You do not need a finished cinematic recording to share the mood of a new Minecraft project.
Begin with one clear scene, choose text or a screenshot, guide a single camera move, and review the result carefully.
That small workflow can produce a useful teaser for a build reveal, server opening, adventure map, or creator channel without turning the project into a long editing session.